Showing posts with label screenshot. Show all posts

October 19, 2009

The iPhone App

App

You may recall that I was slightly busy from shortly before Will was born until early October. Well, my big project was finally released yesterday. The Wolfram|Alpha iPhone application is now available in the iTunes app store.

The app has generated quite a lot of buzz over the past 24 hours, mostly because the price is significantly greater than the vast majority of iPhone applications. While I was intimately involved in the development of the application, I am completely in the dark about the business and marketing side of the product. On the bright side, most of the reviews speak relatively highly of the app itself, even though many are quite critical of the price.

Since I work primarily on Mathematica, I've been fairly uninvolved with the Wolfram|Alpha project prior to this iPhone app. I'm still not an expert on innards of Wolfram|Alpha but I do understand the big picture a little better than I did before.
1.0.0

If you've never used Wolfram|Alpha before, go ahead and give it a try on the website. It's kind of hard to describe what it does, simply because it's not like any other application you've ever used before. Despite certain visual similarities to web search engines like Google or Yahoo, Wolfram|Alpha is not a search engine. It doesn't find web pages that might be related to your query, it computes factual answers to your query (except when it doesn't).

Typically this means your query must be constructed in a slightly different way (perhaps using slightly different language) than you would use for a search engine. It's worth taking the time to experiment to see what works and what doesn't work. Perhaps my best description of Wolfram|Alpha is that it is a combination of a calculator and an encyclopedia.
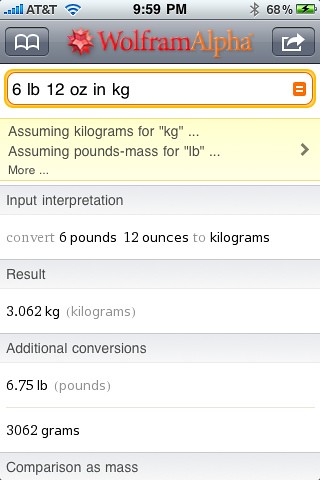
The iPhone app features optimized input and output for the interesting and useful Wolfram|Alpha computation engine.
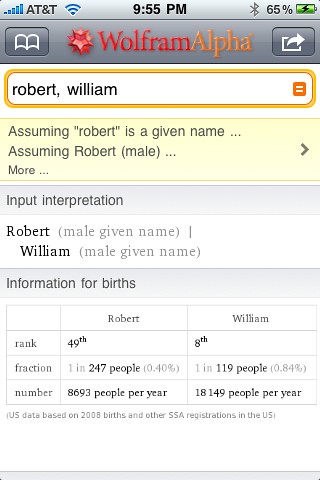
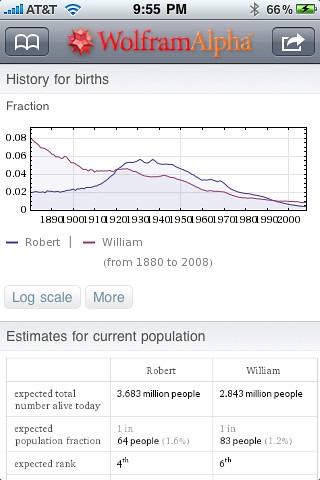
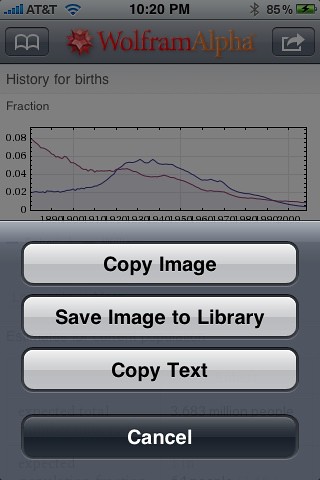
W|A knows all sorts of interesting facts. For instance, Robert was a more popular given name than William in the U.S. for most of the 20th century (though William recently overtook Robert... a sign of things to come?).
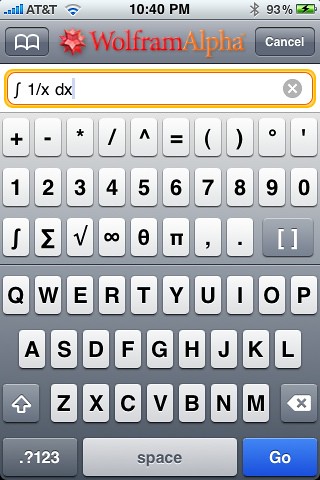
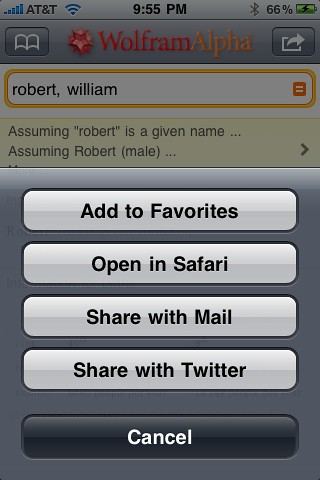
The app provides a number of ways to share the interesting results you find. Click the "share" button in the upper-right corner, or press and hold on a result.
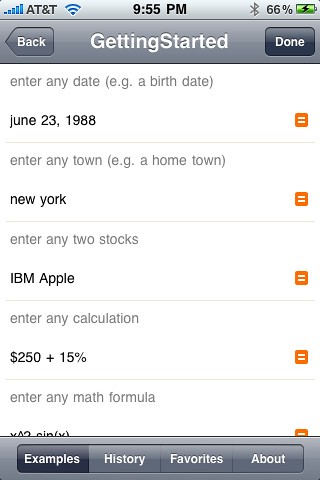
The app also has numerous built-in examples to help you get started.

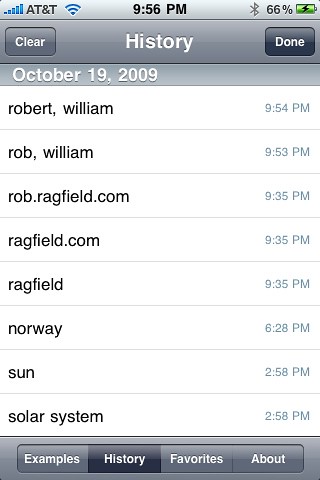
It also contains a complete history of all your queries.
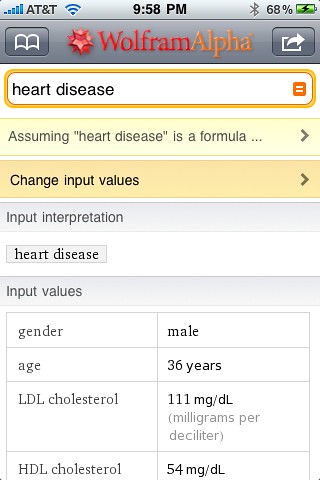
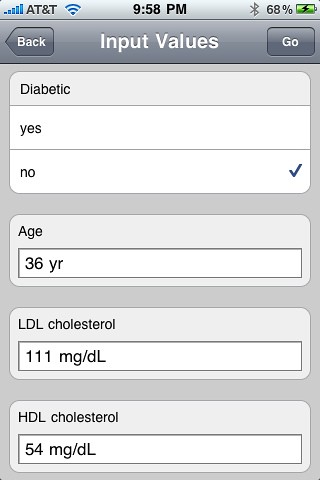
Many of the computations have parameters that can be fine tuned for more precise results.
So there you have it. The app was a lot of fun to write, even if the release schedule was a bit hectic. The next version should be even better.

Late night coding

December 20, 2008

The WiFi Camera Remote

I recently picked up a cheap RF remote for my new Canon 50D.

Camera remote

Unfortunately, it arrived a little bit too late for the two family portraits I was enlisted to take over Thanksgiving. Additionally, the 50D doesn't have an infrared remote sensor like my old 300D, so I couldn't use my old infrared remote. My options were limited. I really didn't want to have to set a 10 second timer then run into the picture, wait, pop, run back, repeat. Instead, I took advantage of the wireless networking capabilities of the attached WFT-E3 (wireless file transmitter) unit and I used my iPhone as a WiFi remote. It wasn't ideal, but it definitely did the trick in a pinch.

This would have been much easier by connecting to an existing 802.11 network, but I could not rely on a network being present. So I instead chose to use an ad hoc direct wireless network connection between the camera and the phone. Additionally, since the iPhone doesn't support creating an ad hoc network, I needed to setup the network on the camera first then connect to that network with the phone.

It wasn't completely obvious how to get this setup working, so I will explain here in case anyone else out there on the internet ever finds themselves in a situation where something like this might come in handy. The required gadgets are:

  • Apple iPhone (or any mobile device with WiFi and a decent web browser)
  • Canon 50D or 40D (or probably 5D) camera
  • Canon WFT-E3 wireless file transfer unit (or probably the comparable 5D-compatible unit)

WFT Configuration

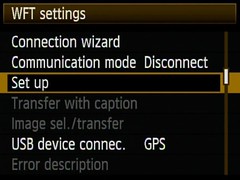
The first step is to configure the WFT to create an 802.11G Ad Hoc wireless network.

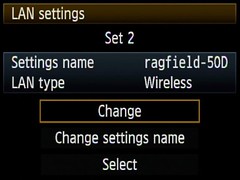
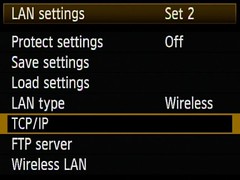
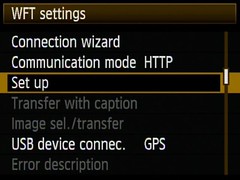
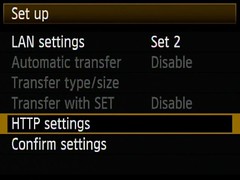
Under the WFT settings > Set up > LAN settings choose Set 2 (assuming Set 1 is your home network) and choose the Change button.


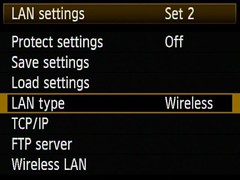
Under the WFT settings > Set up > LAN settings > Set 2 menu set the LAN type to Wireless.

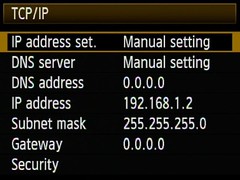
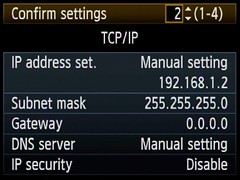
Under the WFT settings > Set up > LAN settings > Set 2 > TCP/IP menu set:

  • IP address set to Manual setting
  • DNS server to Manual setting
  • DNS address to 0.0.0.0
  • IP address to 192.168.1.2
  • Subnet mask to 255.255.255.0
  • Gateway to 0.0.0.0
  • I just left Security tuned off for simplicity, but feel free to use WEP if you want
 

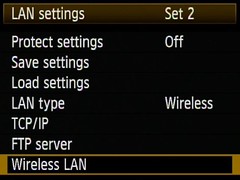
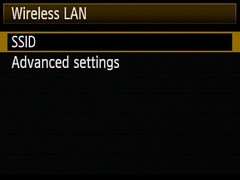
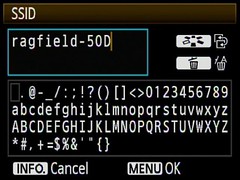
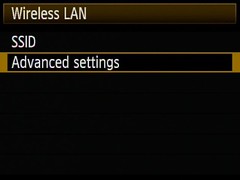
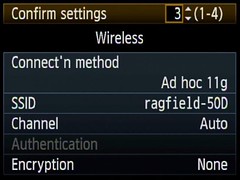
Under the WFT settings > Set up > LAN settings > Set 2 > Wireless LAN > SSID menu enter the name of the wireless network you are going to create. I called mine ragfield-50D.


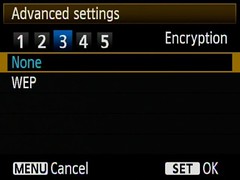
Under the WFT settings > Set up > LAN settings > Set 2 > Wireless LAN > Advanced settings menu set:

  • Conn. method to Ad hoc 11g
  • Channel to Auto
  • Encryption to None
    

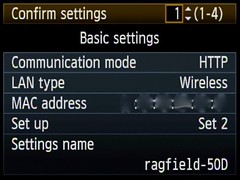
Now it is time to activate the WFT's HTTP server. Under the WFT settings menu set Communication mode to HTTP.

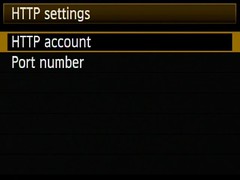
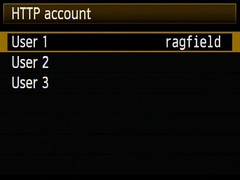
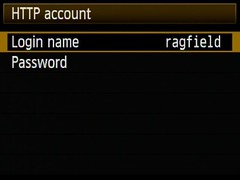
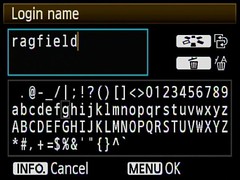
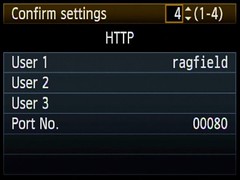
In order to access the HTTP server we need to set up an account with a user name and password. Under the WFT settings > Set up > HTTP settings > HTTP account > User 1 set the Login name and Password to your desired login name and password.


At this point the green LAN indicator light on the back of the WFT should be blinking and we can now connect the iPhone (or other device) to the camera. Go ahead and take one last look at WFT settings > Set up > Confirm settings and scroll through the four screens to verify the settings are correct.


iPhone Configuration

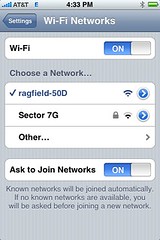
The iPhone configuration is much simpler than the camera/WFT configuration, and the user interface is much better so this goes quickly. In the Settings application choose the Wi-Fi list item. A list of available wireless networks will be displayed and, if the WFT is configured correctly and running, the WFT's network name will appear in this list. Choose this network (in my case ragfield-50D).

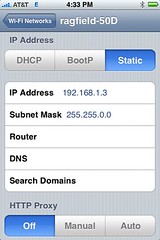
After the iPhone switches to your WFT's ad hoc wireless network click the blue circle button to the right of your network's name to open the TCP/IP settings. Configure the network by setting:

  • IP Address type to Static
  • IP Address to 192.168.1.3
  • Subnet Mask to 255.255.255.0
  • Router leave blank
  • DNS leave blank
  • Search Domains leave blank
  • HTTP Proxy to Off

Now the iPhone is correctly configured to connect to the camera/WFT. One interesting thing to note is that even though the iPhone is using WiFi to connect to the camera the WiFi icon does not appear in the status bar. A 3G or E(dge) icon will appear instead. This is fine.

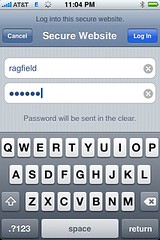
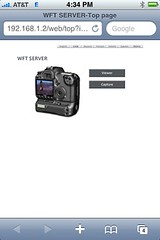
Press the home button to exit the Settings application and tap on the Safari icon to launch the web browser. Type 192.186.1.2 in the address bar and press Go. Safari should prompt you for the user name and password you entered into the WFT settings > Set up > HTTP settings > HTTP account > User 1 menu. Enter these values and press Log In.

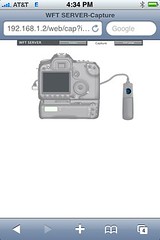
The WFT's default web page will appear. Press the Capture button next to the image of the camera on the web page.

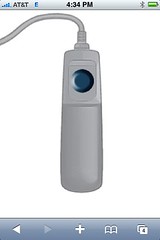
The button to do a remote capture is the little blue circle on the image of the wired remote control on the web page. Zoom in for a target large enough to hit with your finger while you're looking at the camera.


It helps if the hand holding the iPhone is hidden behind another person. Thanks for covering for me Melissa!

The Raguet family

The Bassetts